
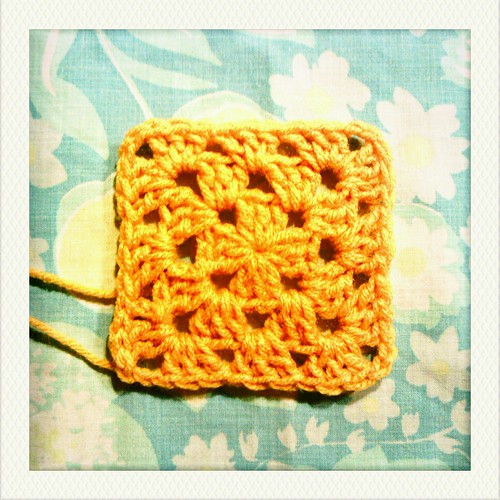
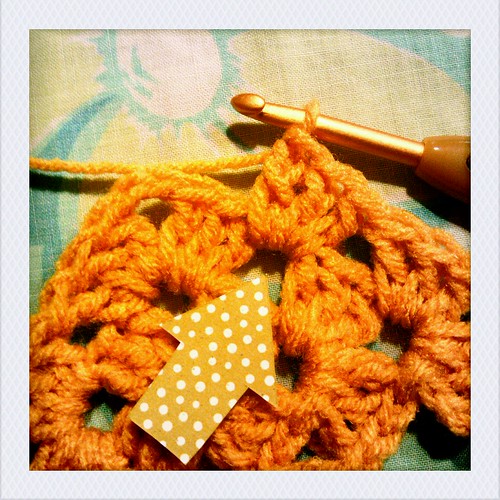
Crocheting a basic granny square like the one above is easy, though at first it may seem intimidating if you are a beginner. To follow the steps below, you just need to know how to make three stitches: double crochet, chain stitch, and slip stitch. Grab a hook and some yarn and give it a try! Once you learn how, you'll be making tons of granny squares in no time!
By the way, this is the first post in a series I'll be sharing over the next couple of weeks. I will show you how to adapt the size of a pattern to make it what you want and how to join granny squares (as you go!), first using squares that are the same size and then using ones of differing sizes. I'm probably most excited about showing you how to fill in the gaps when you use lots of different squares like I did in this. Or maybe about showing you how to do what I did here to add a 3 dc "granny" border to your squares so that you can use my preferred joining method with any squares. Please do let me know if you have any suggestions or questions that I could help you clear up about granny squares in future tutorials! I'm really gearing up for A Square A Day In May, the crochet-along that Melissa is hosting on her blog!
Note: I'm using worsted weight acrylic yarn and a 5.0mm-size H hook, but any combination will work. Crochet is more art than science (and it can be very forgiving of mistakes!), so you may find different ways to make the same sort of square. I'm going to show you two.
Super Simple Granny Square:
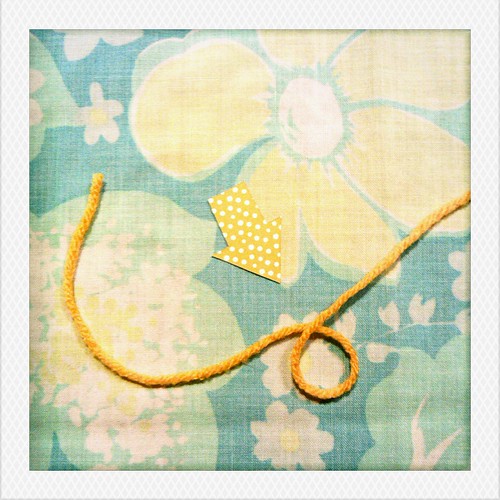
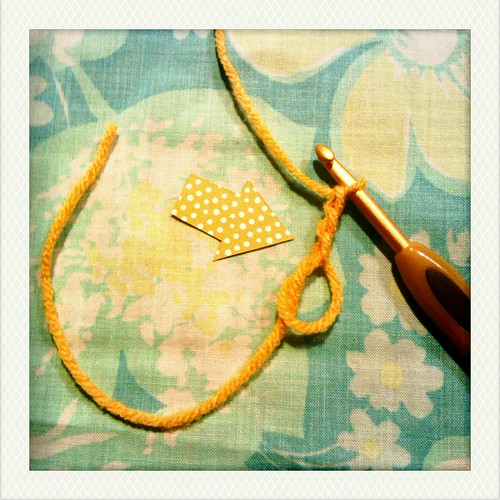
Start with a magic adjustable ring. Loop the thread around your finger with the short end on the bottom and the long end on top as shown below. You'll want to grasp the yarn where the two ends meet:
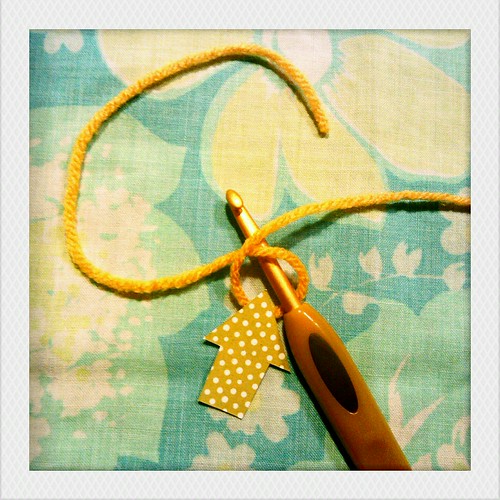
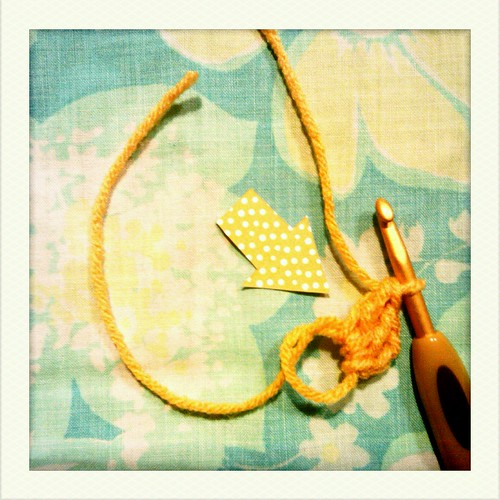
Insert your hook from front to back through the loop:
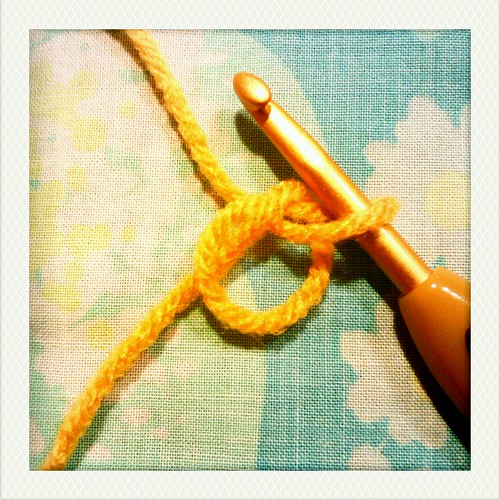
Draw a loop through the ring:
(If you have lots of trouble with making a magic ring, you can try this instead: chain 4 and slip stitch to the first stitch to form a ring.)
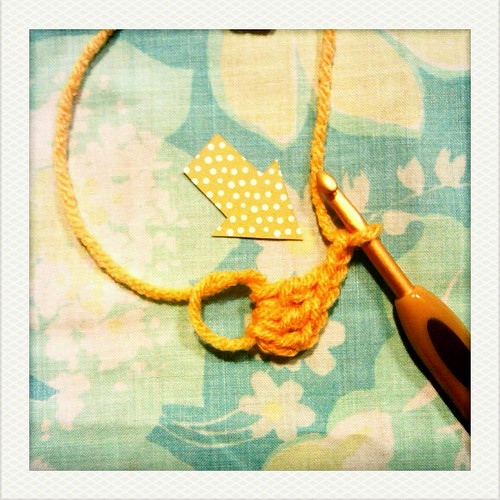
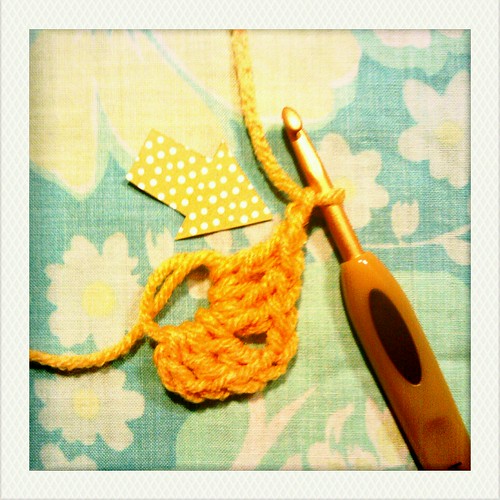
Chain 3:
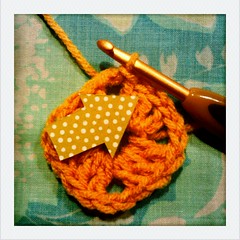
Make two dc (double crochet) into the ring:
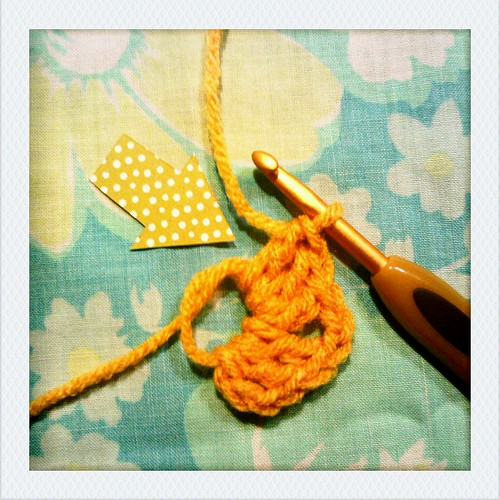
Chain 2:
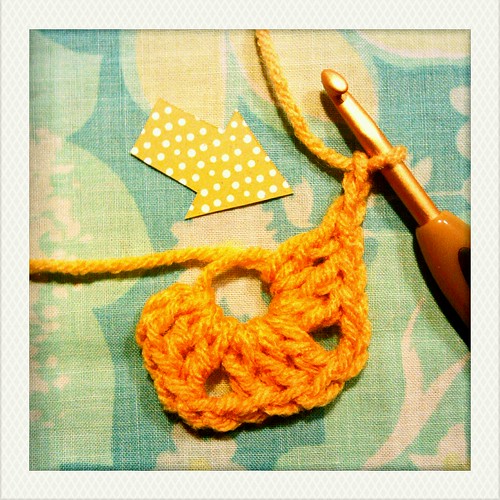
Make 3 dc into the ring:
Chain 2:
Make 3 dc into ring:

Chain 2:
Make 3 dc into the ring:

Chain 2:
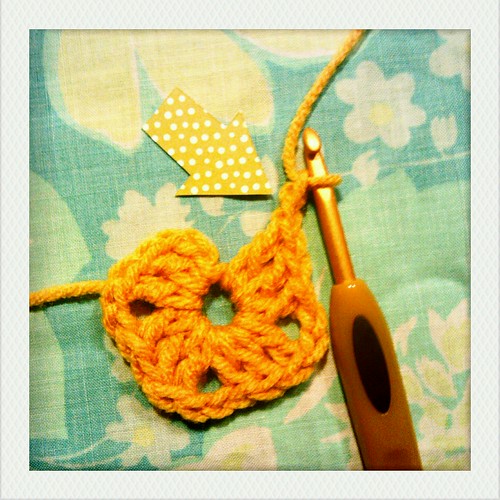
Find the third stitch in the beginning chain you made:
Insert your hook into both of the top loops of the stitch:
Draw a loop through:
Now pull that loop through the other one on your hook. You just made a slip stitch:
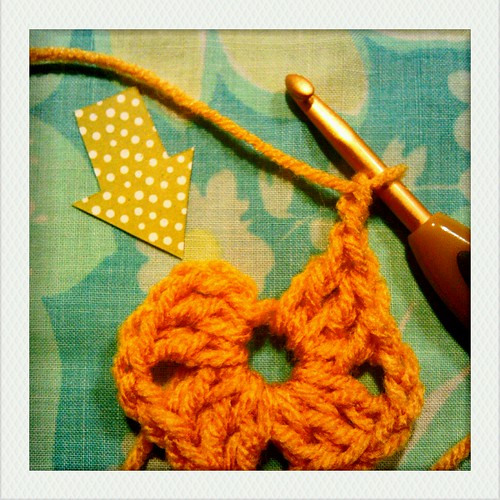
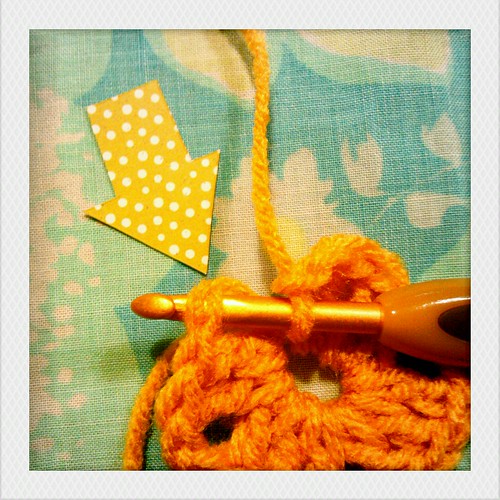
Now slip stitch into each of the next two dc stitches and then again into the corner space:
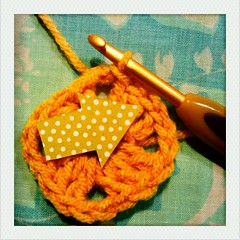
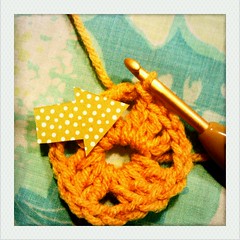
Now that you have your first round completed, pull the loose end to cinch up the center circle (you'll want to make sure you weave this end in well later or you might be disappointed when you wash your granny square project!):

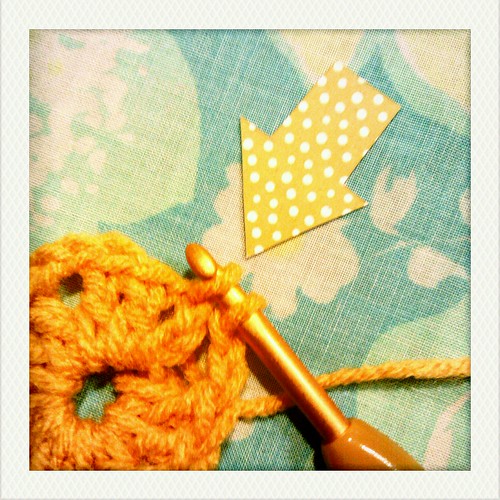
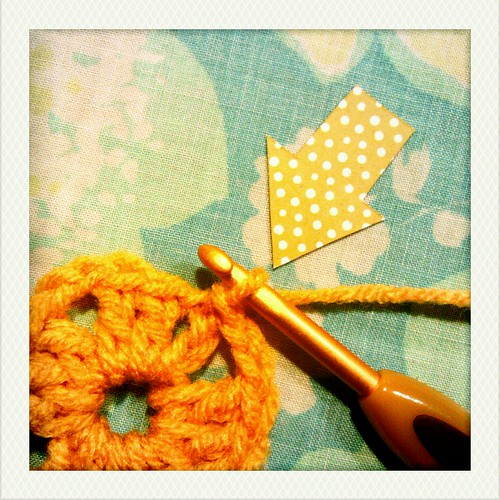
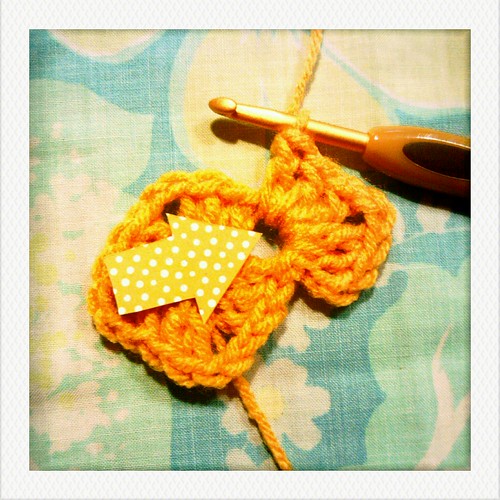
Ch 3 to begin the next round:
Make 2 dc, ch 3, 3 dc into the space. You've made your beginning corner. This is how you'll do it for any subsequent rounds you'll add later.
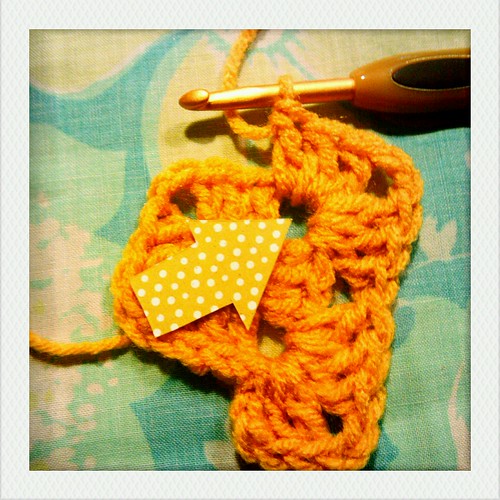
To make the next 3 corners, make 3 dc, ch 3, 3 dc into the next corner space:
Again, find the 3rd stitch in the chain of 3 that you made at the beginning of the round and slip stitch through the top two loops of the stitch:
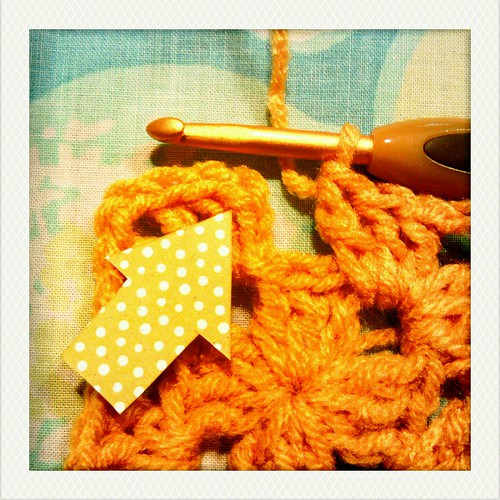
Slip stitch into the next two dc stitches and once more into the corner space:

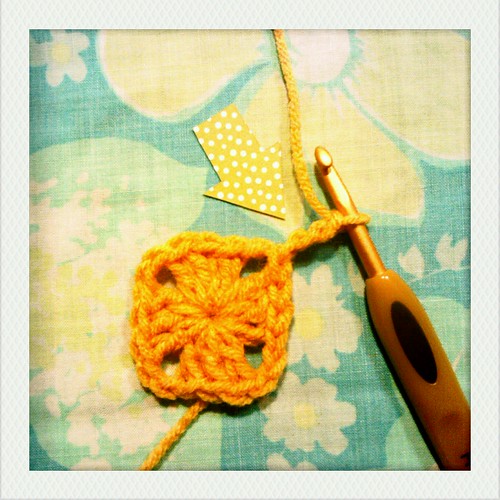
Make your first corner (ch 3, 2dc, ch3, 3dc) in the space:
In the next space (and all middle spaces), make 3 dc:
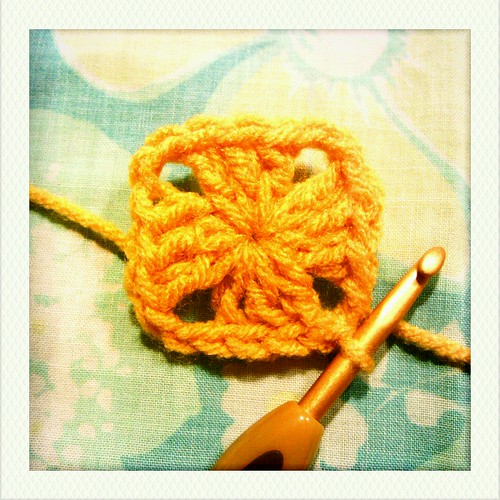
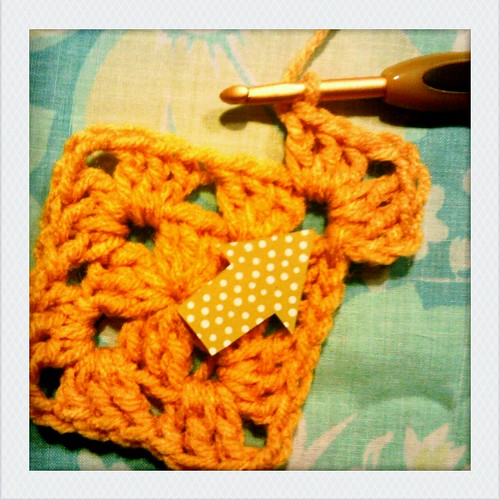
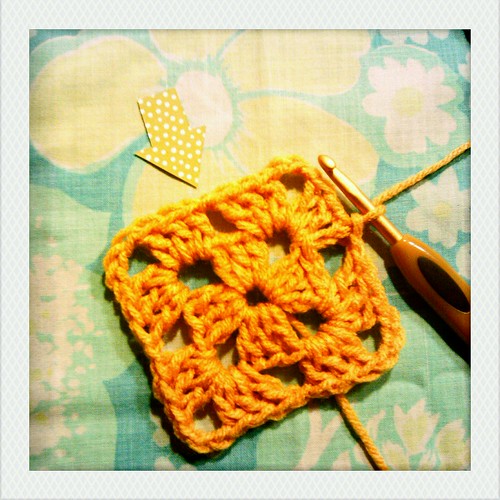
Work your way around the square in this manner with 3 dc in each middle space and 3 dc, ch 3, 3 dc in each corner. This is all you need to know to make squares as big as time and your yarn supply will allow! If you keep going, before you know it, you'll have a blanket! Your 3 round granny square should look something like this:
You can change colors on any round by attaching your new color to any corner space.
Slightly Different Granny Square:
There are no laws that say you have to make your square one way or the other, and there is very little different about this version. The result is just slightly larger. Which way should you make them? That's up to you!
Instead of working your 3 dc and then immediately making 3 dc in the next space, simply add a chain stitch in between each group of 3 dc stitches. In each corner, make 3 ch stitches instead of just two.
See how the extra stitch in between the groups spaces out the square a little more:
Instead of working your 3 dc and then immediately making 3 dc in the next space, simply add a chain stitch in between each group of 3 dc stitches. In each corner, make 3 ch stitches instead of just two.
See how the extra stitch in between the groups spaces out the square a little more:
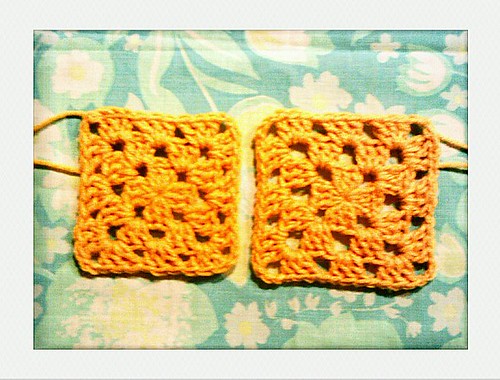
See how the open spaces between stitches are a little larger in this square?

Below are the two squares side-by-side. I personally prefer to make mine with a space between each cluster probably because that's the way I first learned how!

You are so super cool!
ReplyDeleteI can't wait until you do your attaching squares with different number of stitches tutorial so I can post it on my blog for everyone to attach their squares at the end of the day.
I'm going steal on of your buttons and features this blog post on my blog!
So excited about this!
Now that I found you, I'm going to have to follow. I'm doing a granny square throw for my sister right now.
ReplyDeleteJust found your blog and I love it!! I'm new to crochet and want to learn how to make granny squares. I love your tutorial! I'm going to be following along with you.
ReplyDeleteThis tutorial was so, so helpful! Thank you so much for sharing your granny square wisdom :)
ReplyDeleteLove,
Elizabeth
you made this look so easy I being a beginner think I can do it . Very helpful Thanks
ReplyDelete